I had a lot of people asking me questions when I posted my Ulli MT on the DIY forum at thebabywearer.com, so I thought I would put together a description of how I made it. I am not a professional seamstress, so I am sure my terminology and techniques are not correct, but this is just how I as a DIY'er make my wrap MTs.
Before making my first wrap MT, I made many different style MTs. I found what worked well for me, and combined that all into making the wrap MTs. Before chopping up a very expensive piece of material, I highly suggest practicing on cheaper fabrics :)
(Click on the pictures to make them larger)
 First I made up a pattern for the body and the hood. Then I layed the pattern out on the wrap and cut it out. My pattern is folded in half, so it is placed on the folded edge of the wrap.
 When the wrap has a linear design, I like to make it reversible, using the vertical stripes for one side of the body, and horizontal stripes for the other side. I also do this with the hood. I like to have the horizontal stripes of the hood go with the vertical stripes of the body. Just my preference. I also use an inner layer of twill or denim, so I cut this out with my pattern also, although it is not in this picture.

The hood pattern, folded in half placed on the fold of the wrap. (This pattern was cut from my old resume as you can see :) )
 The 2 pieces of the hood with the lines in the different directions.
Cutting the straps


I use half of the width of the wrap to make the shoulder straps. I just fold the wrap in half to find the middle. Then I cut down the middle using a rotary cutter. I made these straps around 83-85 inches long, which turns out is actually a bit to long for me. I leave the original tapers on the end of the wrap. When sewing in the shoulder straps I will be sewing them in the body around 4 inches, so the straps will be around 4 inches shorter than what I cut.
For the waist straps I cut the same way. I cut each waist strap around 28 inches long, and use half of the length of the wrap. Again, the straps will be sewn in around 4 inches, so they will be 4 inches shorter than what I cut.
 Shoulders and Waist straps cut out, and a very confused toddler...
Hemming the straps

I make a large hem, fold in 1/2 inch and then fold in another 1/2 and sew. I tried using the large rolled hem foot, but it did not work well for me. I found that using a walking foot helps me to work with the wrap material better. It helps it to go through even, so there is not much puckering or pulling/stretching. It just makes the final product look nicer.
Making the hood straps

I cut 2 long thin pieces of material, around 2 inches by 16 inches. Fold the two long sides in to meet in the middle. Then cut a taper at one end.

I fold this point down

And sew it.
Then fold in half, press, and topstich around the entire strap.
 Attach the straps on the bottom to the right side of one of the layers of the hood. Attach around an inch in from the corner, and leave around 1/2 inch of the raw edge of the strap sticking out.
Pin together the hood panels with the right sides together. Make sure not to catch the hood straps, and sew leaving a large hole on the top of the hood to turn.

Turn, press, and topstitch.
Attaching the straps
 With Ulli I used a pleated shoulder attachment. I just fold and pin under pleats until it is at the width I need it to be to attach to the body. The width does not matter so much, but the two must be as even as possible so the MT feels comfortable on both shoulders.
I do one side first....

Then lay it next to the other strap and match it up as close as possible.
I do the same for the waist straps. Usually the waist straps will wind up being around 5 inches wide where it attaches to the body, and the shoulder straps around 3.5-4 inches wide where it attaches to the body. This is really personal preference and based on the pattern.
Attach to inner layer
 Then I attach it all to an inner layer. I use the Xbox attachment, and go over that 3 times.
Put it all together...
 Then Layer it all together. First is the middle layer with the strap attachments facing up. Then the reverse side facing (good side) up. Then is the hood, right side down, Then the front body panel right side facing down (wrong side up, if there is a wrong side). Pin all together and sew, skipping over all the strap attachments.
Turn through one of the shoulder strap openings. Make sure you turn it out so the inner layer is in the middle.
 What it looks like after turning.

Close up of waist strap after turning. You can see the inner layer here.
Next is folding over the edges by the strap attachments. I think this is the hardest part.. trying to get it all nice and even on both sides. I pin like crazy, then press, then topstitch as close to the edge as possible. I usually topstitch twice over the shoulder and waist attachments.
Then you attache the little straps on the shoulders for the hood straps to tie into. I do not have any pictures of this but you just cut out two pieces of the wrap material, around 2 inches by 3 inches and fold, press and topstitch the same as the hood straps. Then I measure around 7 inches up on the shoulder straps, from the body attachment, and sew them on. Try to make it as even as possible on both shoulder straps.
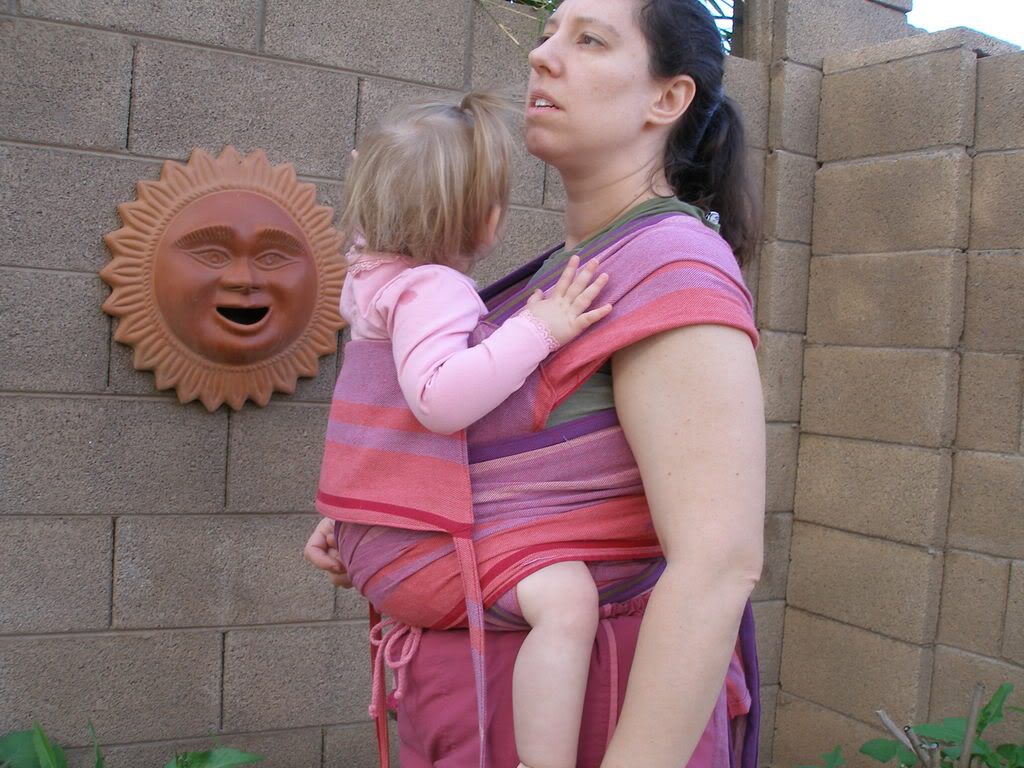
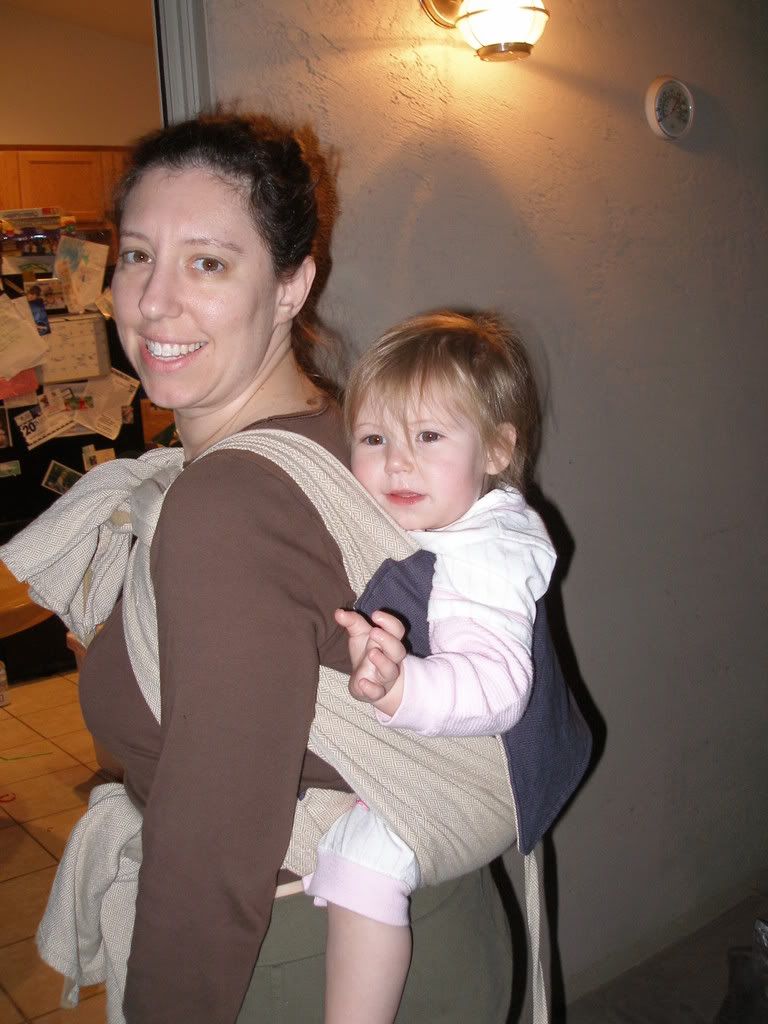
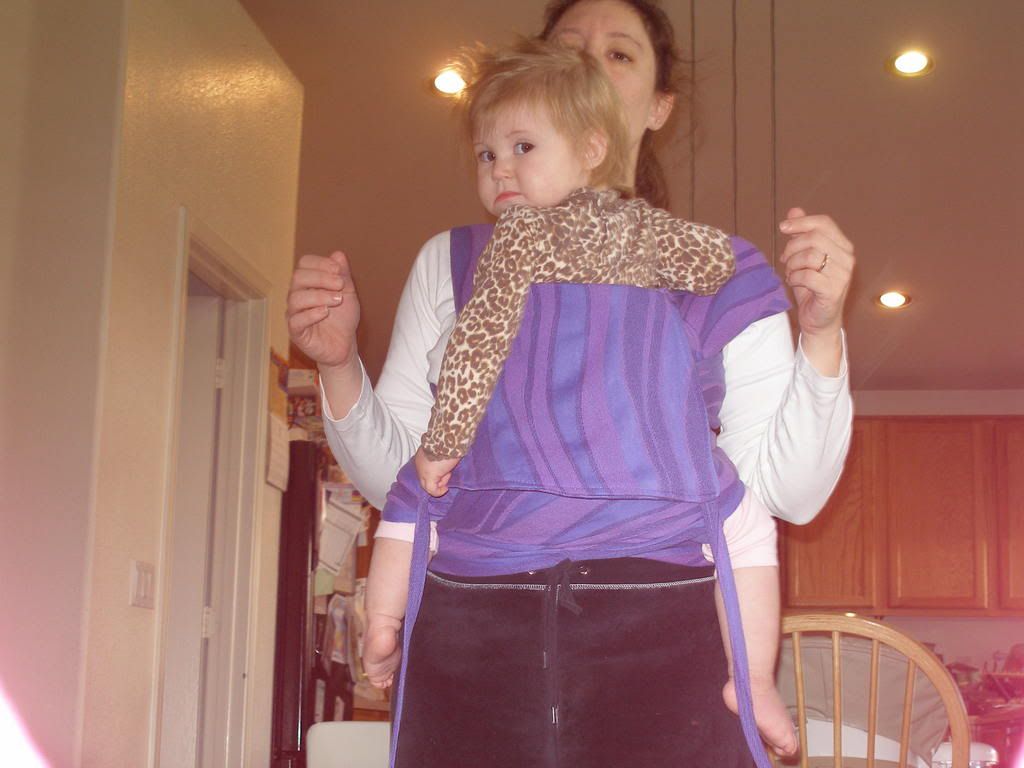
Ta-dah!!! all done :)